
Online events
This info will be focussed on events pointing to a 'non-registration' zoom link.
Using Action Network instead of sending people to register on zoom enables you to see who on your email list has registered. Also it then makes it easier to set up auto-reply emails, 24hr reminders and follow up emails.
This page covers how to:
- Create an Event (written instructions below)
- Duplicate an existing Event - watch this video
- Set up an Event Campaign - coming soon
- Gather events together in an Event Campaign - watch this video
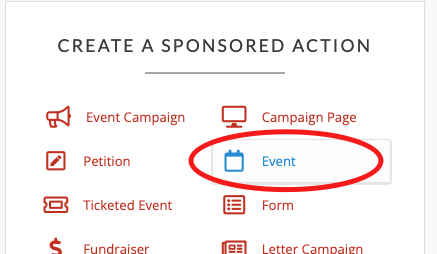
Create an Event
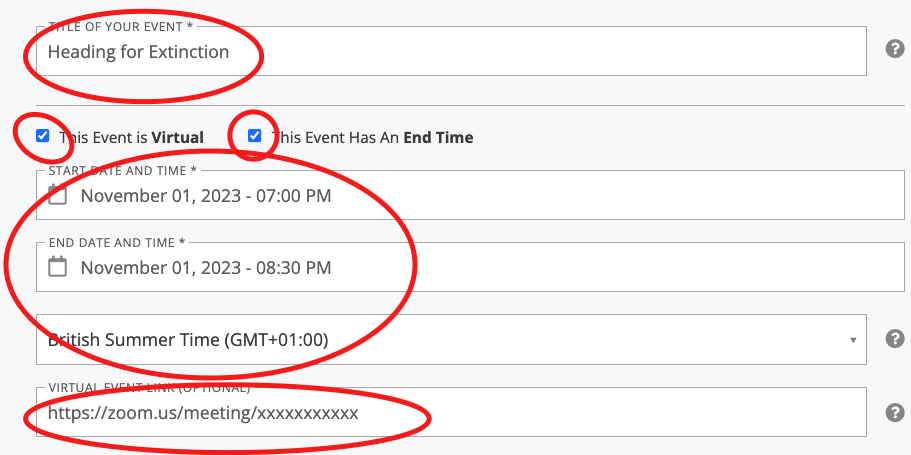
Add the key details
Title, start and end time, zoom link and timezone
- title - keep it short and clear
- zoom link - this should NOT be a registration link (otherwise people will have to register here on the event and then again when they click the zoom)
- timezone - if your event date is within British Summer Time (then pick that time zone - see above) - otherwise choose Greenwich Mean Time.
Add some short text about the event and upload graphic
Write something a little shorter than you might do on a Facebook event or other advert - because by the time they've reached this registration page - they should already know something about what they are signing up for.

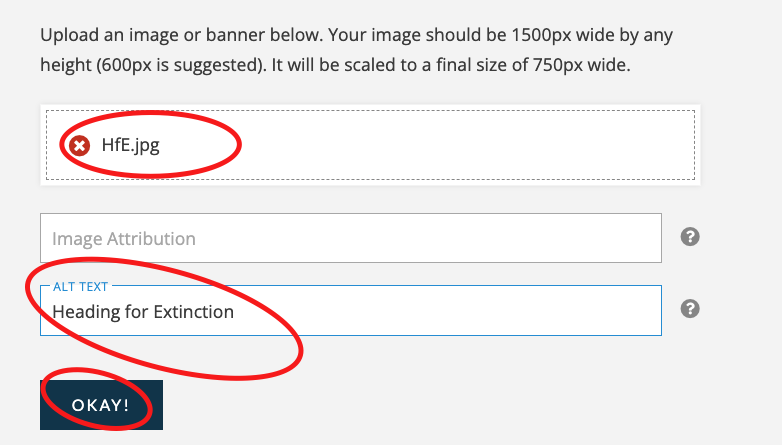
Then the graphic
Update the form data entry details
Check the button to 'Register' and then click 'edit'
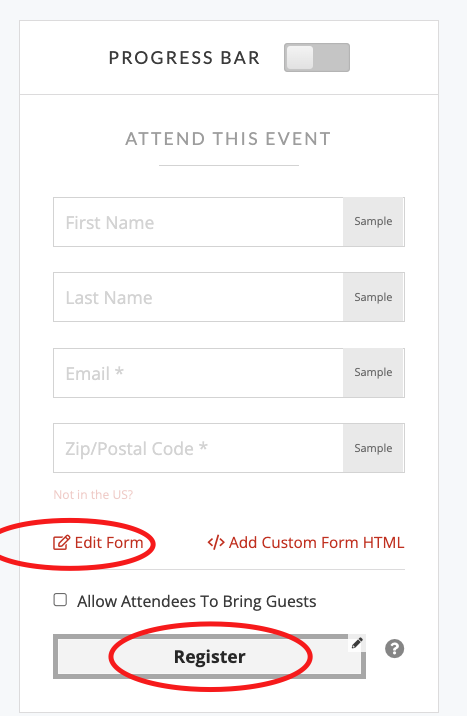
Choose data fields
This part is hard to describe in words and images - so you need to just have a go. You can drag and drop any fields you don't want for your event (it's up to you). Just click on them and drag away from the left and let go.
In this example the surname and postcode have been removed and the GDPR field is being picked up and moved in to the form.
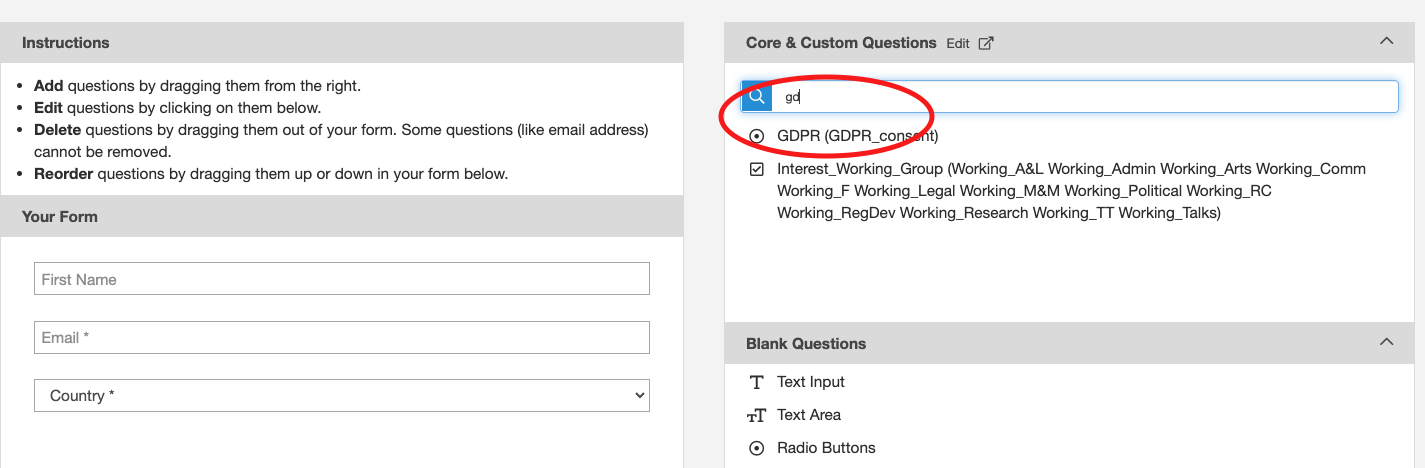
This should then be set to required.
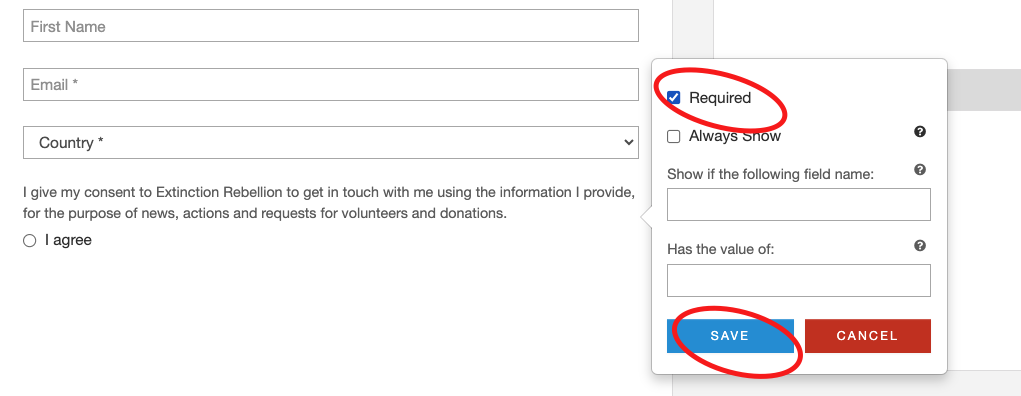
Save your form and then in the bottom right of the screen click the button that says SAVE AND GO TO NEXT STEP.
Thank You page
To keep things simple - turn off the sharing options (you can investigate this later), and change the title.
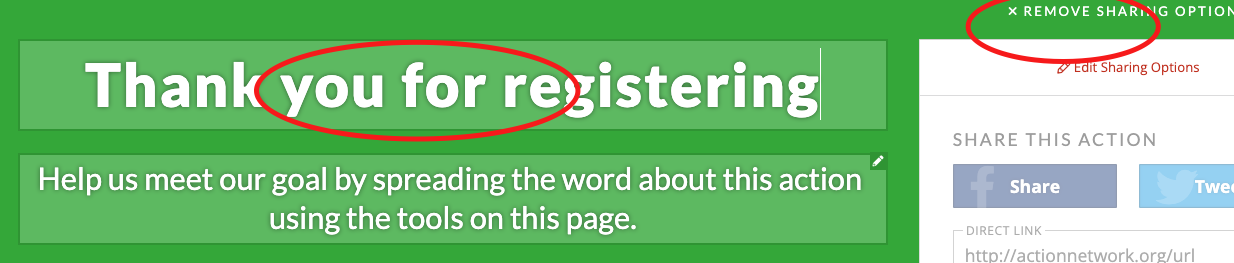
Also you can write a message here e.g.
Click save and publish
You event is now live, some last thingthings to do isare
- add a nice page
wrapper,wrapper - turn
thattheitdiscussionhasboard - set up auto-reply emails
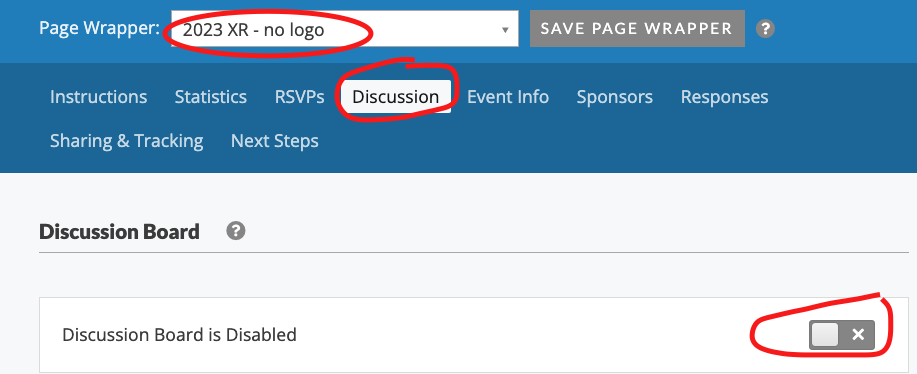
The page wrapper gives your Event the 'XR Style' of font and colours and also this gets rid of all the Action Network branding at the top and bottom of the page. Swap from the default to the 'no logo' one. Also click on Discussion and toggle off.
You can also click on 'RSVP' select your name and remove yourself from the list of attendees.
AND finally set up the reply emails
Click on 'Responses'
As usual for an email - you might pick an appropriate wrapper (contact data team), set up your subject, from and reply-to email correctly.

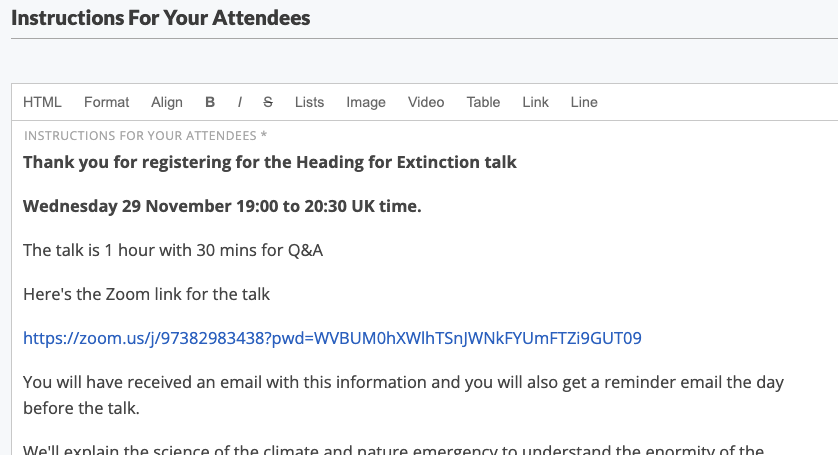
Then write the content of the email. Some of the default things on offer aren't very clear, so here is an example of a clear email.
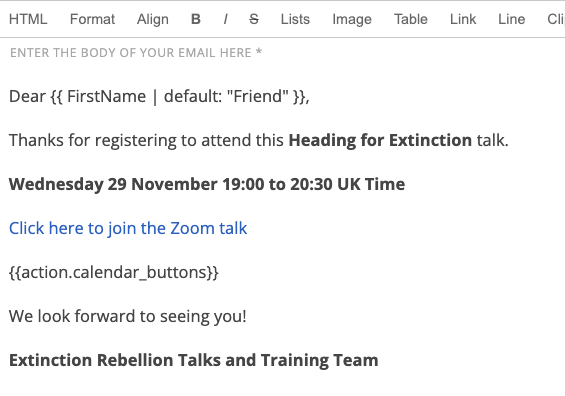
You can copy the same email or something slightly different for the 24hr before reminder email.