Multi-message velcro banner
How to make a multi-message banner
Did you ever wish you could change the message on your banner? This document shows how to create such a resource.
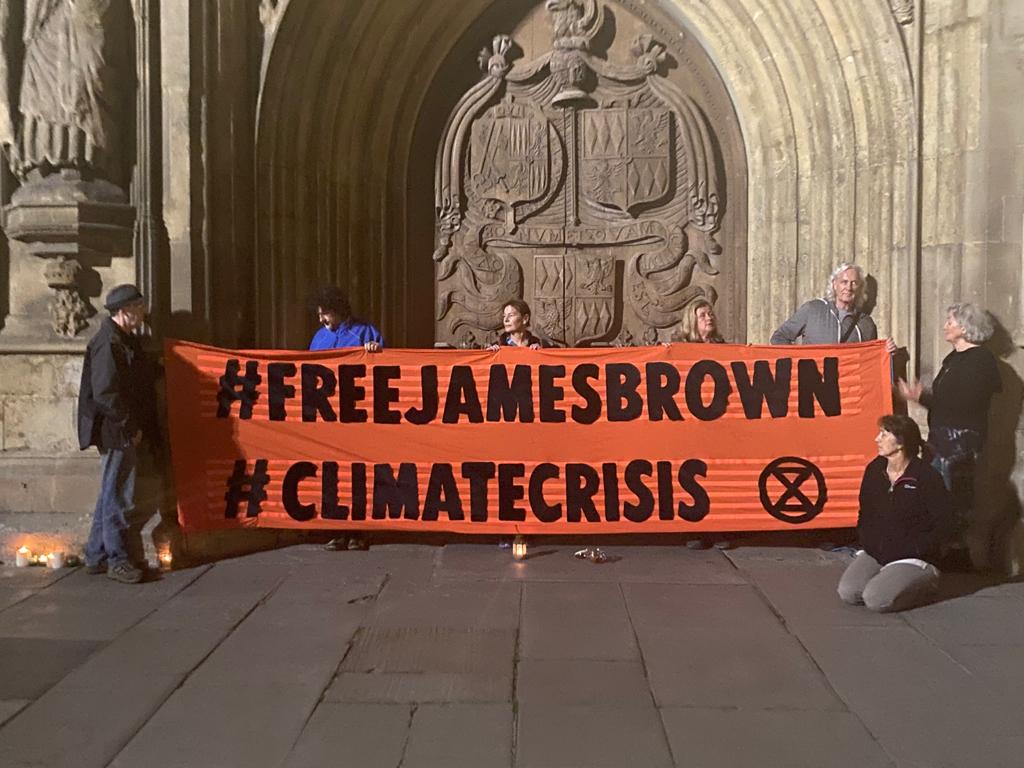
How To Make A Multi-Message Banner like this:
 Free James Brown banner outside Bath Abbey
Make the banner backdrop
- This was made from second hand cotton duvet cover, ripped open along seams, hemmed as needed. Sewed generous pole slots at each end. (approx 4.3m x 1.4m)
- The banner was dyed bright orange (Dylon machine wash dye)
- Used strong bamboo canes for pole slots
- 2 x 25m roll of 25mm wide sew-on loop velcro (the 'furry' side) from hookandloopfasteners.co.uk
- Used 38cm high FUCXED CAPS letter templates so top to bottom edge of a set of 6 tramlines is 38cm
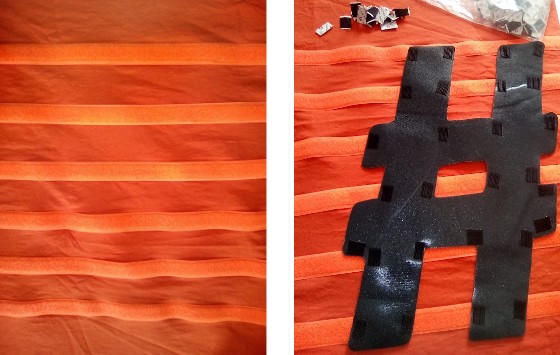
- Pinned velcro tramlines in place along the middle then machine sewed down both velcro edges on
2x 62x6 rows of4 m4m long 'tramlines' (approx 20cm gap at each end of banner)
Create a set of card templates
- Use black fabric that won't fray when cut, (so no need to hem, which would take ages) and it also had a bit of stiffness to it.
- This is needed as letters only have a few attachment points and you don't want them to flop. Ideally material would be lightweight and waterproof. We used some artificial velvet with plastic backing found in a local fabric shop.
- Not perfect as a bit heavy and not waterproof. Maybe oilcloth would work? Other options considered were thickish felt (but not waterproof), craft foam sheets (plastazote). Tried for recycled material from Scrapstore but no luck there. Plastic backing on the velvet used had BIG advantage of then using stick-on velcro on the back, avoiding huge extra sewing job. Velvet also good as a message can be stuck on banner, then rolled/folded to pack away for ease of transport to action.
- Draw round templates with tailor's chalk. Cut out by hand (laser cutting would be quicker)
- Bought black corresponding 'hook' backing velcro from same company (PS30, heavy duty waterproof adhesive, 20mm wide)
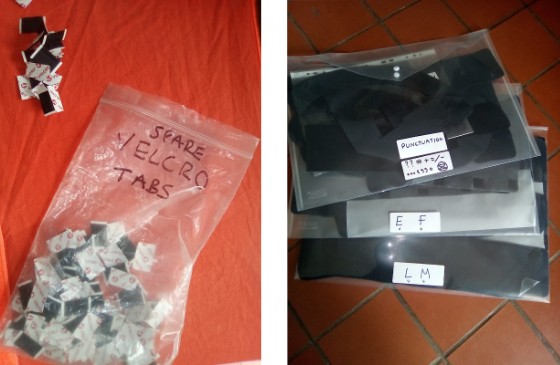
- Cut backing velcro into 1/2cm tabs
- Each letter placed plastic side up on a set of 6 tramlines and velcro tabs stuck on along where they will stick onto the tramlines.

Suggest letterset and symbols
- 1 each of Q,X
- 2 each of J,K,Y,Z
- 3 each of H,V
- 4 each of A,B,C,D,F,G,I,L,M,N,O,P,R,T,U,W
- 5 each of S
- 6 each of E
- Numbers 2 each of 0-9
- Symbols ? ? ! * # # / = + . . . ' ' ' -
- Also degree symbol and XR symbol
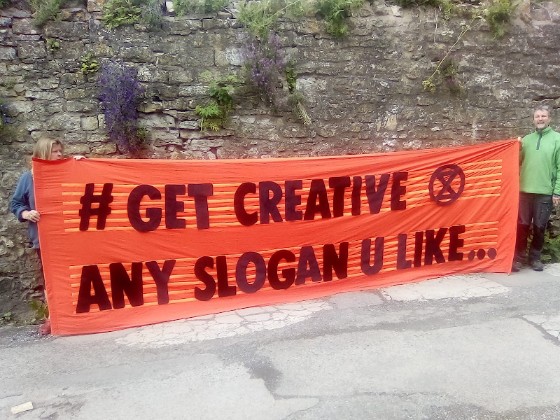
And here it is:

Tips for use
- Simplest way to stick
msgmessage on is put banner on clean floor, lay outletters,theetcletters velcro- - With the velvet you can stick a msg on and roll/fold banner up to
carrycarry. - For speed a 2nd
msgmessage can be prepared in advance and carried in spare A3folderfolder. - To change
msgmessage ideally put banner down on dry, cleangroundground. - The carry bag has spare velcro tabs for any additional sticking
downdown. - Banner heavier than usual, better held with
2 ontwo end poles1and one inmiddlethe middle. - Be careful in very wet/windy conditions as heavier so more prone to
rippingripping.
If used in rain please ensure banner and any wet letters, etcletters are fully dried out before being stored away. Wet letters can be temporarily stored in one of the empty A3 plastic wallets until you get back to basebase.
If ever an additional letter/symbol is needed (eg an amazing msg that needs 3 Qs)Qs !!) keep templates and some spare velvet material availableavailable.
Possible design improvements
If you need further information contact us on Mattermost @melclarke or email Mel at hello@xrbath.org.uk
Original
word doc instructions continue here


