
How to create and use Forms on the Hub
The Hub allows Group Admins to create forms for people to fill in, and then look at (and share) the results.
Creating a form
From your group's page on the Hub, click Forms in the Admin area.
You will see a list of forms that looks like this:
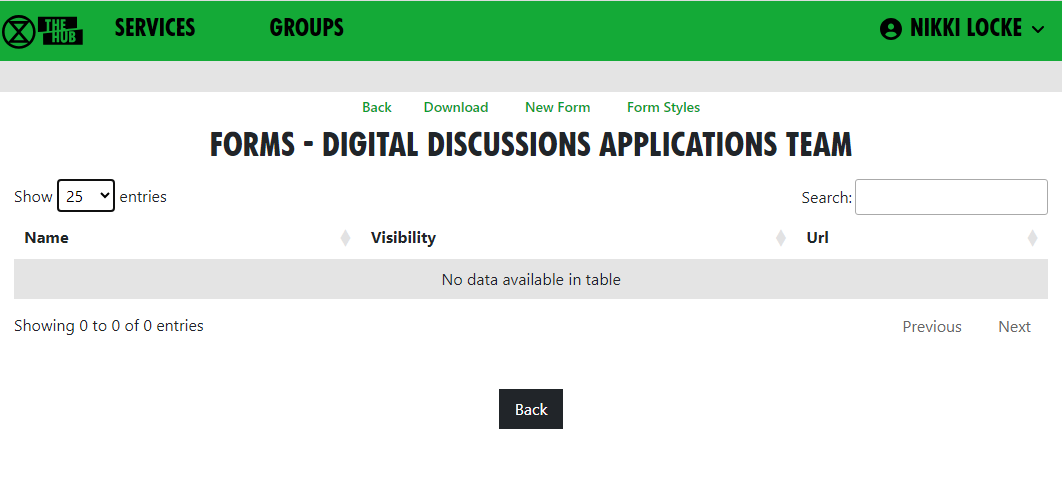
Click New Form to go to the form design page:
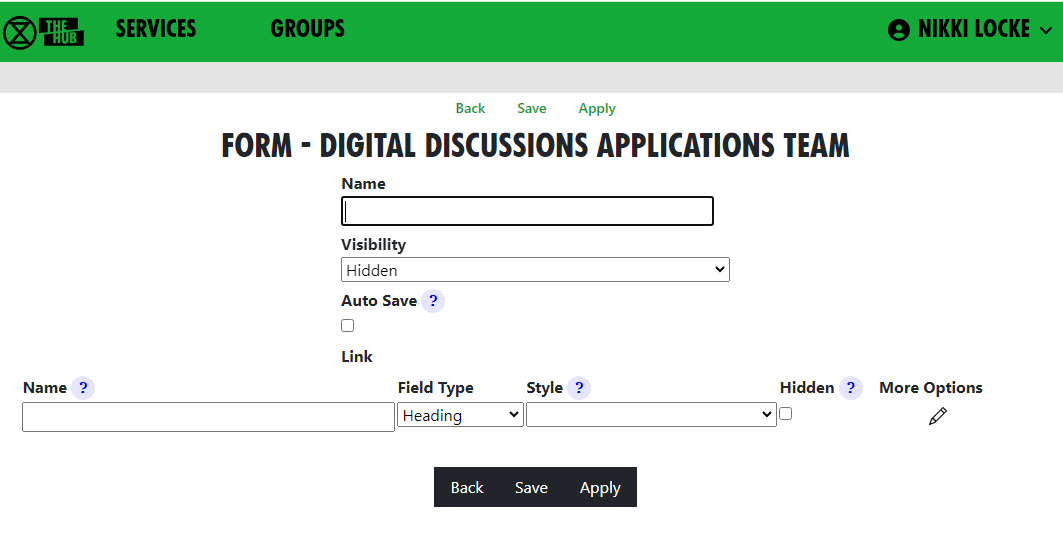
Give your form a name. All your group's forms must have different names.
You can decide who is allowed to fill in your form from the drop-down list

Normally the user has to click the Save option to save their data. If you tick the Auto Save tickbox, they won't have to do that - every time they eneter anything in a field in the form, the form will be saved.
Adding fields
Each field on the form has a (unique to that form) name. The name must have no spaces or punctuation. WeUseCamelCaseLikeThis to make field names with more than 1 word in them. (The Hub will remove spaces and CamelCase the name for you if you forget. Camel because of the humps!) Fields can be Headings (just to instruct or separate parts of your form), or any of the types below:
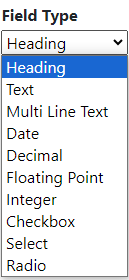
The field type determines what the user can enter in the field. If you change it later, data may appear to be lost - e.g. if you have a text field which someone enters "hello" in, and you change it to decimal, "hello" isn't a number, so it won't be displayed. But, if you change it back again, the data will reappear.
By default the prompt for the field will be the name, Un Camel Cased - e.g. the name PreferredPronoun would be prompted Preferred Pronoun). The name is important, because any data entered into the field by users is stored against that name. If you change the name, any stored data for the original name will be lost.
Each time you start entering a new field, another space to enter the next new one will appear.
If you want to reorder the fields, use the drag handle  on the right. If you want to remove a field, click the red
  .
.
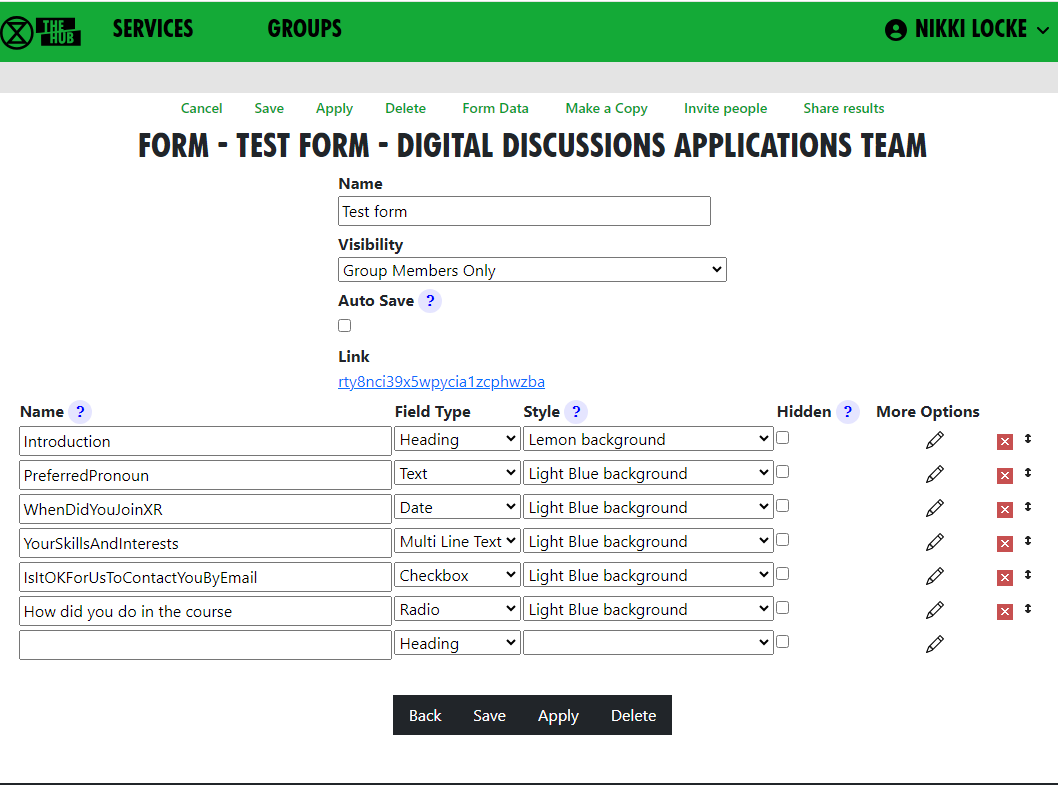
Here is an example form:
When people are filling it in, it looks like this:
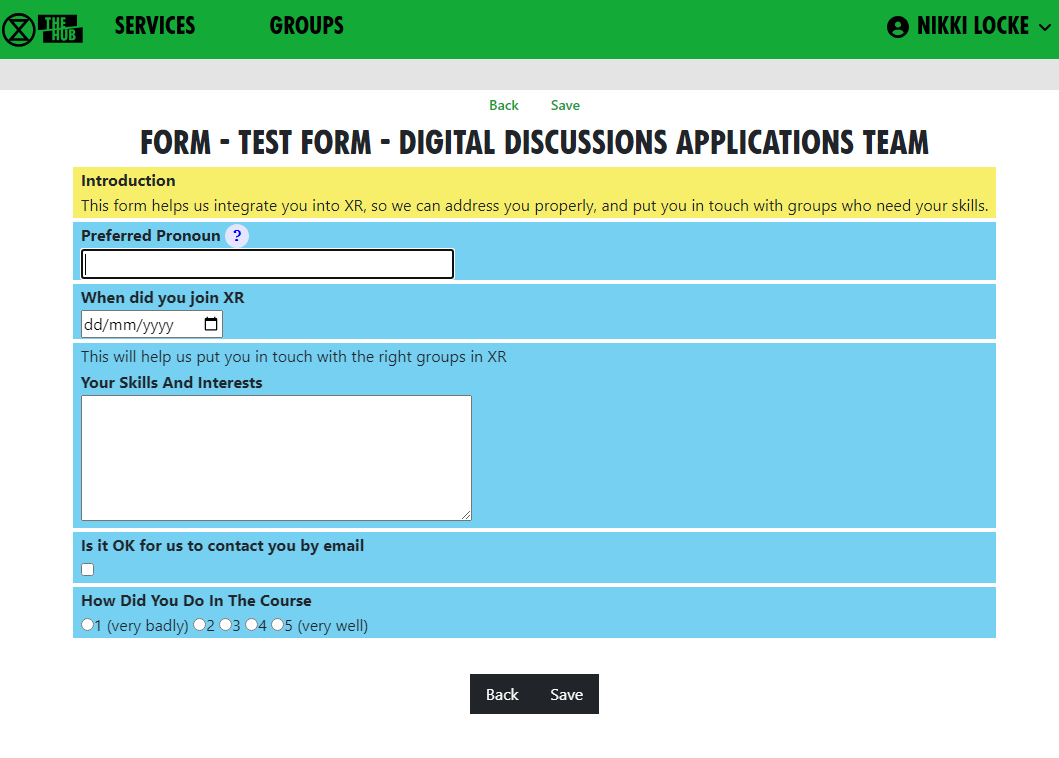
As you can see, there are issues with the camel casing when there is more than one capital letter together. And the form is very boring to look at. We can fix that, though.
Changing the styles of fields
Each field has a Style dropdown. A number of standard styles are provided (taken from the XR Style Guide). You can add your own styles if you know CSS - there is a Form Styles option on the main Forms list (see above).
There are more options you can add to fields - click the edit pencil  next to the field to see them:
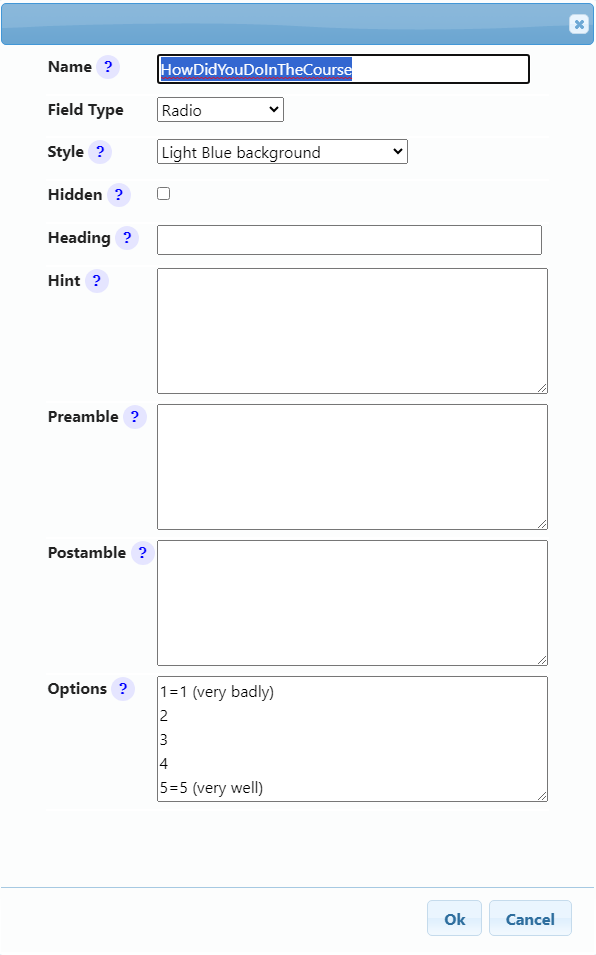
Here we have given the HowDidYouDoInTheCourse field a light blue background.
The Heading field lets you change the prompt for the field (so it isn't UnCamelCased from the field name) - a good way of fixing names with two or more capitals together, and also a way of changing the prompt but keeping the data people have already entered.
The Hint field shows a standard Hub pop-up hint question mark - if the user clicks on it, the hint pops up.
The Preamble appears above the field. You can use Markdown formatting here, just like Mattermost.
The Postamble appears below the field.
Options appears only for Select and Radio fields. It must be filled in to contain the options the user can choose from. You can see from the example above how these options appear on the screen - each line in the options box appears as a radio button the user can select (or an item in the dropdown for a Select field). If a line has = in it, the user sees the text to the right of the equals, but the form data shows the text to the left of the =. So, in this example, if the user selects "1 (very badly)", what gets stored in the field data is "1".
A lot of forms contain Yes/No questions. There are two good ways to do those
- Make a Checkbox field.
- Make a Radio field, with options Yes and No - if the user clicks Yes, Yes is stored in the field; if they click No, No is stored; and if they don't click either, the data will be blank.
You will notice that, as well as the usual Save button in the form editor, there is an Apply button. This saves the changes, but leaves the form editor open.
When I am tweaking the design of forms, I usually open the form editor in one tab, make the form visible to group members,and click Apply. Then I open the form to enter data in another window, so I can see what it looks like. I can switch back to the edit tab, alter stuff, and click Apply. Then I switch to the form entry tab and refresh it (F5 usually works) to see what the changes look like.
Inviting people to fill in a form
There are three ways of inviting people to fill in a form:
Inviting individuals
Once the form is saved, click "Invite people" when editing a form to ask people to fill in the form. You can also do this from the Forms tab in your group page. The invite screen is a bit like the form to invite people to your group:
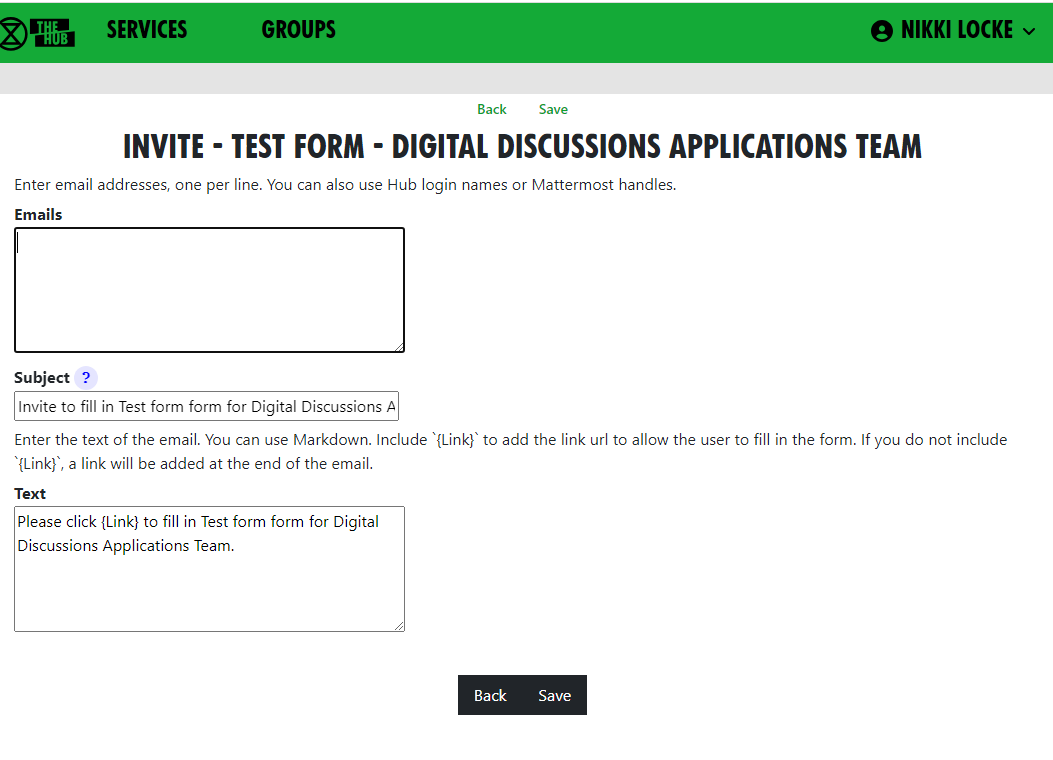
Fill in email addresses, login names, or Mattermost handles, one per line.
If you want to customise the email that is sent, change the text - but make sure you leave {Link} in the text - this will be replaced with a url for the user to click on to fill in the form.
When you click save, each person will be sent their own, personal link to fill in the form.
Making a generic invite anyone can use
When you are editing a form (or viewing the form in the list of forms), there is a link field. This is a link to the generic form invite. Right click it (long press on a touch screen) and copy the link.
You can publish this link, and anyone who clicks on it is taken to the Hub. If they are logged in (and have permission to enter data to the form - see Visibility above), they are taken to the form, ready to enter data. If they are not logged in (and the form is visible to the public), they are asked for their name and email address, and a link is emailed to them. (This two-stage process ensures that the person filling in the form is really the person with that email address.)
People on the Hub can fill in the form from your Hub Group page
If you have forms that are visible, they will appear in the Forms tab on your group's Hub page:

If a form is for group members only, it will only appear if the person is a group member. They can click on the green link to enter their data into the form (or go back and change it later).
Group Admins can see the other icons -  to add a new form,
  to edit it,
  to see the data and
  to invite people.
Looking at the data
When editing a form, the Form Data option shows you the form data. You can also do this from the Forms tab in your group page. You will see the field headings across the top, and one row for each person who has filled in the form. Group Admins can click on any row to see the data (and even change or delete it). The data is searchable, and you can sort by clicking on the column headings. You can also download the data using the Download button - maybe to add it to a spreadsheet or other package, to further analyse it.
Sharing the data with others
By default, only Group Admins can see the data. But, using the Share results option in the data or form screens, you can share the form data with any role on the Hub. This might be a role in your team that uses the data (so you don't have to make them Group Admin to let them see it), or a role in a different hub group (where the data needs to be shared with another group).
If you share the data with a role, anyone in that role can go to your group page, look in the Forms tab, and they will see the data icon against the form name, and can click on it to see the data in that form.