
Creating your event: first steps and basic info page
You can create an Eventbrite account by following this link www.eventbrite.co.uk and clicking sign up in the top right corner.
You will then be asked to enter an email, name and password. We recommend you use an XR email address. We recommend that you do not use a personal Eventbrite account to create events for XR.
Once you have made your account, you will be able to create an event: click the button ‘Create an event’ that is now on Eventbrite’s top bar.

If this is the first time you made an event, it will ask you several questions about how you will use the website. This will help set up the tools that Eventbrite has.
You will be then taken to this page, where you can click the orange ‘create event’ button that is now in the middle of the screen and the top bar.
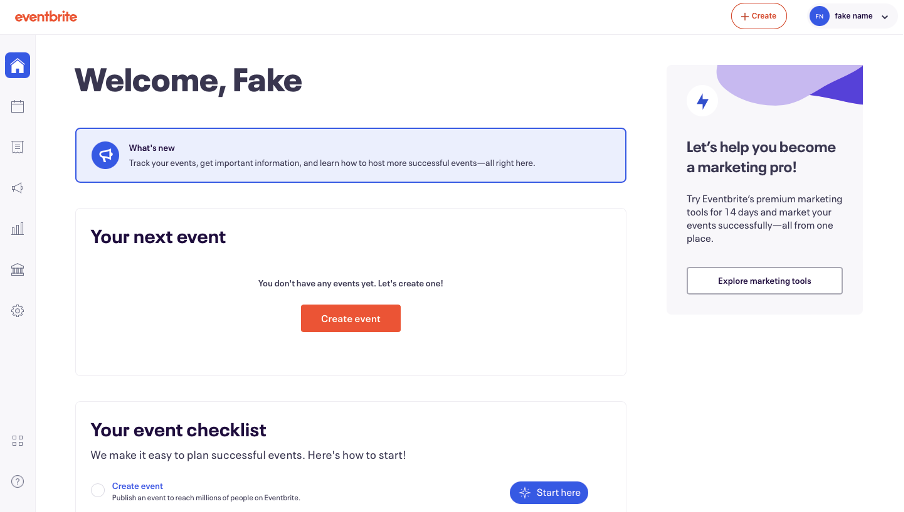
Editing the event - Basic info page
From here, you will then land on this basic info page. This is a scrollable page, scroll down to see the three main sections, which are Basic Info, Location, Date and Time.
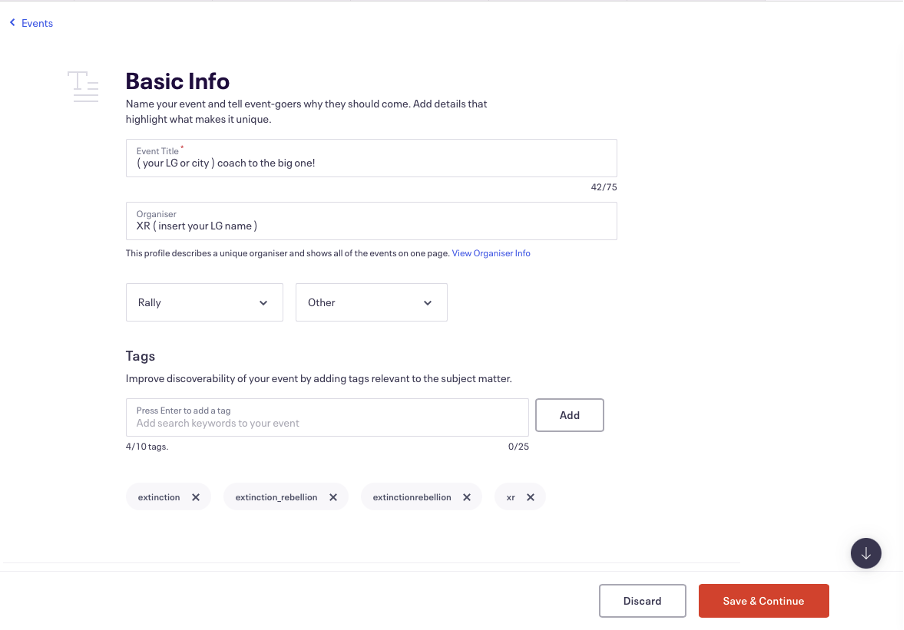
Add an ‘Event Title’.
You then need to add the organiser’s name. This could be your Local or Regional/National/Commmunity group name, such as XR Midlands. Don’t put your real name down for security reasons!
You will then need to decide what type of event it is in the drop box, in our example above, we have chosen 'rally'.
You then should add some tags: this helps people find the event when they are searching on eventbrite. Examples you could use are, Extinctionrebellion, XR, Extinction_rebellion, climateactivism. You can choose up to 10 tags.
Location

Now scroll down to the 'Location' section to add the address/location of your event. If your event is online you can select online as an option. If you do not know the address yet or it is still to be agreed click ‘to be announced’, as you can always edit this later.
Date and Time
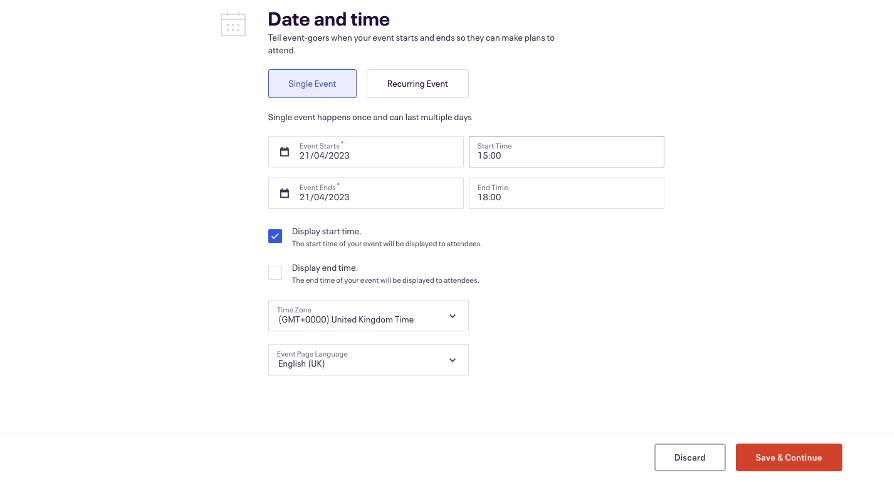
Scroll down again to the Date and Time section and specific when the event is, and if it is a reccuring event. You can also choose if you display and start and end time when it is a live published event.
Once you have filled in the above details, click 'Save & Continue' to save your work. This does not publish the event. It just saves it.
You will then be sent to the main page to manage your event. This page has 4 main sections: Basic Info, Detials, Tickets, Publish. These sections can be found on the left sidebar.
Eventbrite has a very useful and extensive support section on their website as well as prompts all the way through the process.
The rest of this guide covers a more simple step-by-step approach to the main features of Eventbrite for ease of use.
Please note that Eventbrite sometimes changes its policies or costs. We will do our best to keep this guide updated, correct, and relevant.