How to send an update email and how to access your attendee list
Sometimes you may need to send an update about your event, such as changes to the time or place. There is also an automatic 2-day reminder email that Eventbrite sets up to remind people about the event.
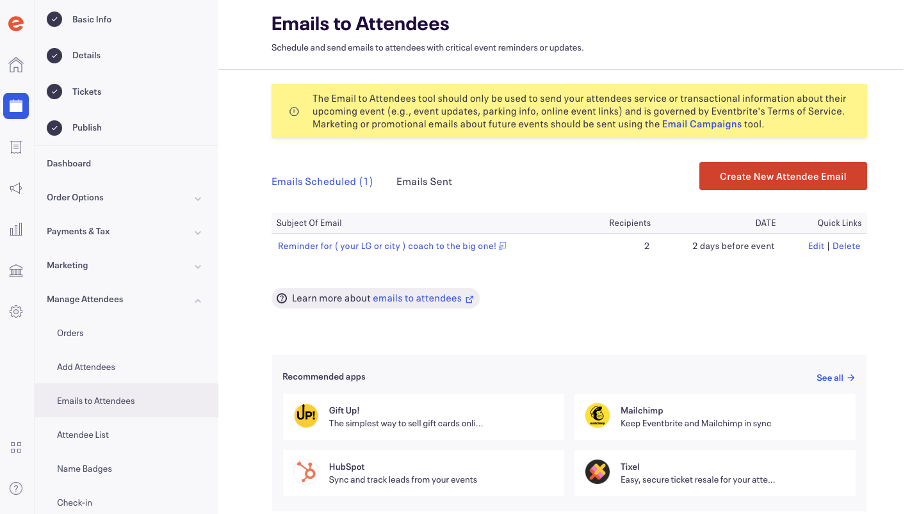
To send an update email to your ticket holders, you need to go to the Event Dashboard (as described on the previous page), and on the left-hand side-bar, click ‘Manage Attendees’, which will open a new menu on the page, then click ‘Emails to Attendees’ in the left sidebar.
To send a new email click the orange ‘Create New Attendee Email‘ button on the right side of the screen.
This will then open a new page where you enter the name of your group; your reply to an email address; and the subject title of your email. To send to all ticket holders, select ‘All Attendees’ in the ‘To’ drop-down menu. Then you can add your text in the large text box labelled ‘Message’.
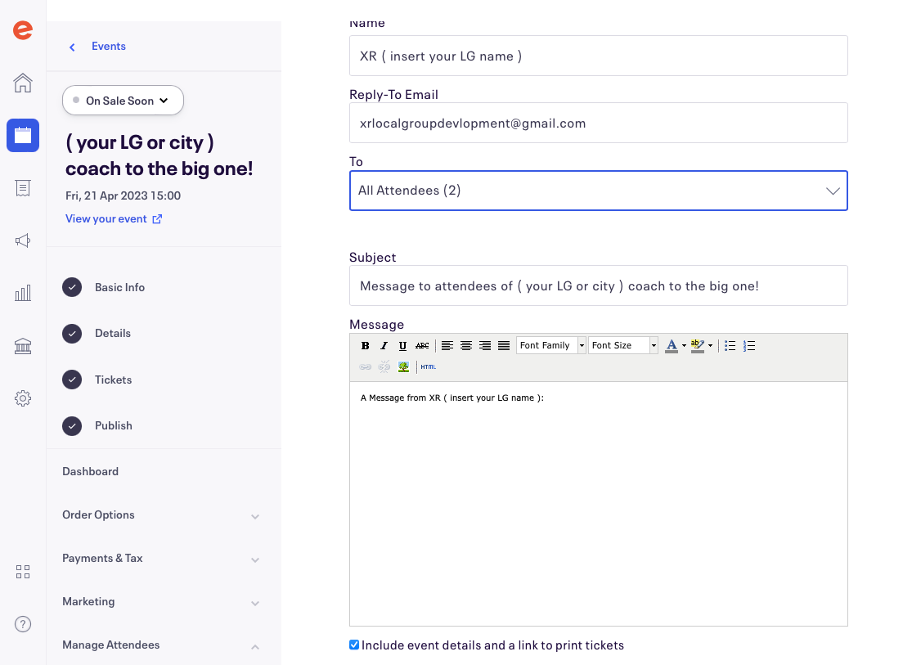
Once you’re happy with your email, you can send a test to your own email, to make sure you are happy with how the email looks, or for someone else to proofread the email. Enter your email (or your proofreaders email) in the ‘Send Test Message To’ text box and click ‘Send Test’. Then you can review if the email looks good.
Then you can either schedule the email for a specific day and time, or send the email straight away. Once ready click ‘Send Now’ to send the email straight away or ‘Save’ if you choose to schedule the email.
The email must be about the event onnly, with no other updates or email shout-outs.

How to access your attendee list
Accessing your attendee list can make it easier on the day to track who has and hasn’t turned up, and to an extra layer of security so that only people who are meant to be there are at the event. This can be done by ticking people’s names off against the list as they arrive at the event. There are also options to use your phones to check people into the event with an app, but on paper is a simple way to keep track.
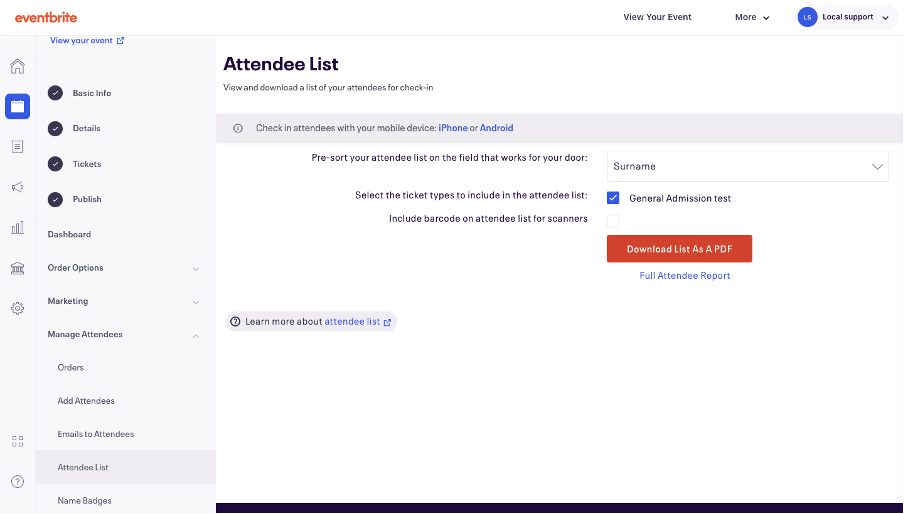
To download the attendee list, on your Event Dashboard, go to the left sidebar, click ‘Manage Attendees’ then click ‘Attendee List’. This will then take you to a new page and give the option to ‘Download List as a PDF” button, click this and it will open a new tab with your attendee list.
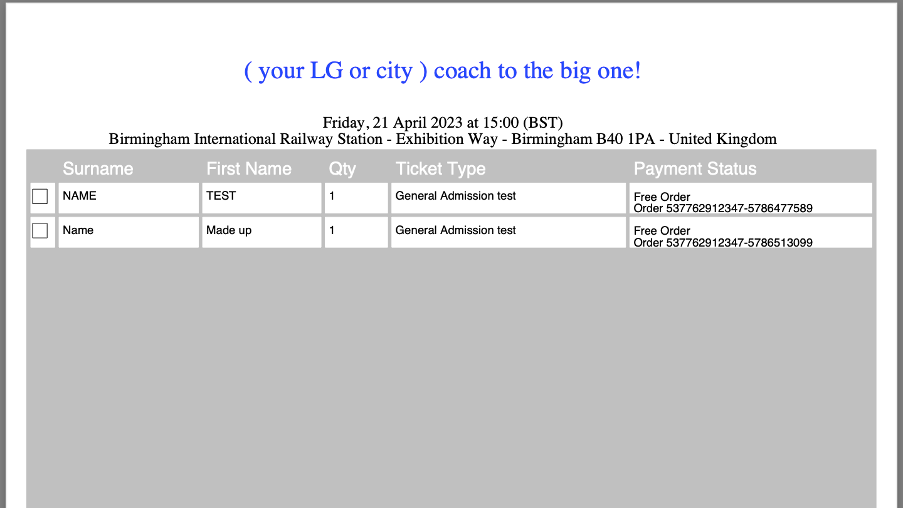
Your attendee list should look something like the image below, which you can then print off or save. Remember to safely shred or dispose of this list once you are done with it. Only people who have signed the XR Volunteer Agreement and need to see this information should have access to this list.